
Most erasers are not worth your money. I’ve gone through countless erasers in my life, and these three types are my tried-and-true winners: polymer/vinyl erasers, kneaded erasers, and electric erasers. They handle 95% of your art project needs. I’ll explain.
Polymer/Vinyl Erasers
These erasers are all all-around workhorses. They’re amazing at lifting the graphite off the paper without damaging the paper, whether you’re erasing light linework or heavy marks from grinding down hard with your pencil. You can find them at most art stores.
From my experience, polymer erasers work best for graphite and colored pencil. I don’t recommend them for charcoal, pastels, or anything that crumbles into fine powder. Unlike kneaded erasers (I’ll explain below), polymer erasers lack the surface area and “tack” to grab all those loose particles off your paper. You’ll end up smearing the charcoal into the tooth of your paper instead.

I gravitate towards the Japanese ones, particularly MONO by Tombo, because of their softness. I always do the bend-and-squeeze test to check how pliable they are.

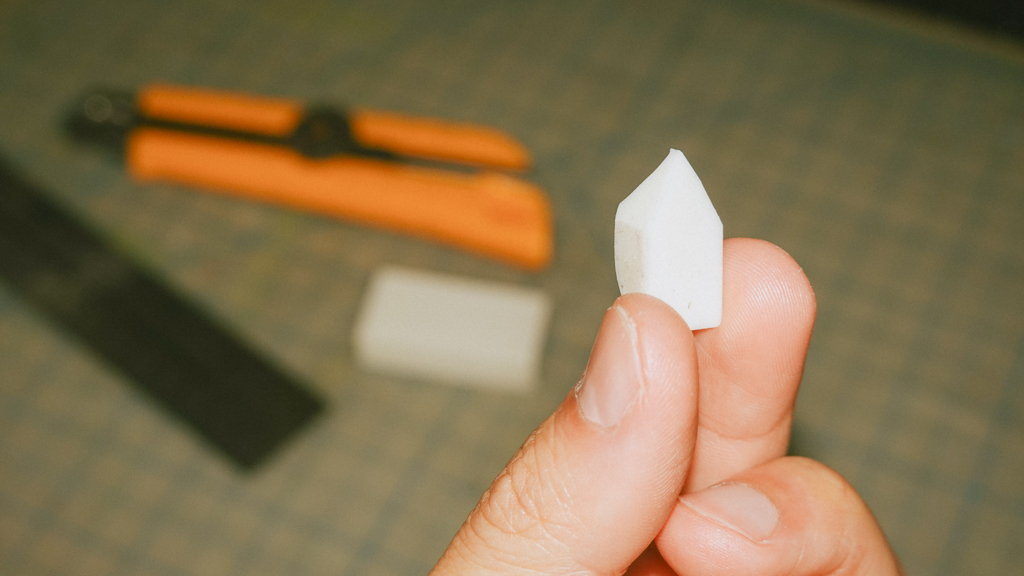
Pro Tip: Cut them into custom shapes with a utility knife for precision work. Need to erase a razor-thin line or add highlights to hair or grass? Need to erase a razor-thin line or add highlights to hair or grass? Shape your eraser tip accordingly.
These erasers come in many varieties and aren’t expensive, so experiment with different manufacturers to find your favorite. One or two will last you a long time. I’ve tried all 3 below and they’ve all erasered really well. Go to the store and try them out, you really won’t know until you try test for yourself.
Kneaded Eraser
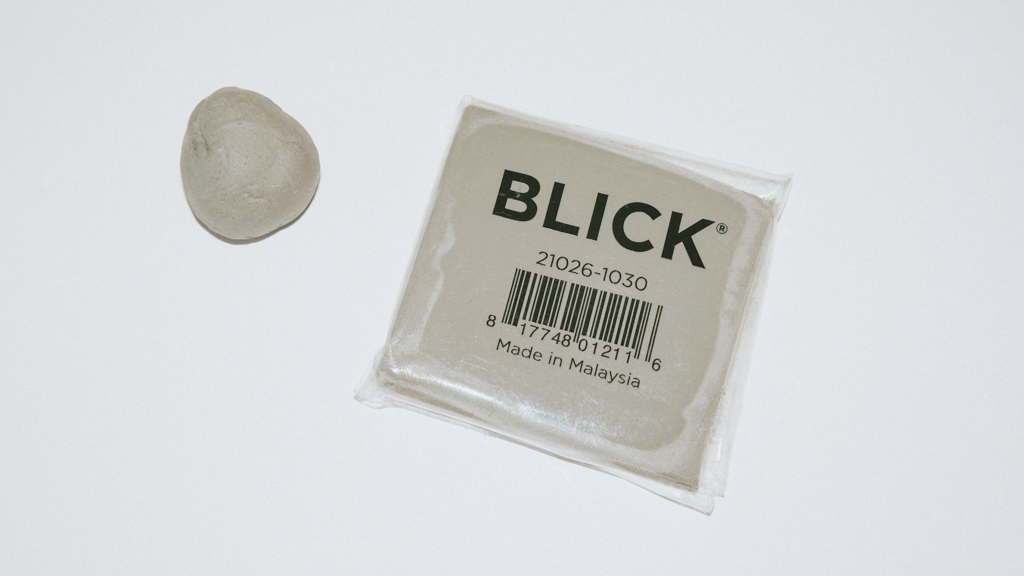
Coming from rigid erasers, I initially hated kneaded erasers because they wouldn’t hold their shape. When I was first introduced to them in art school, I couldn’t understand why anyone would use something that wasn’t stiff. But that’s exactly the point! They’re not supposed to be. Once I realized their purpose, it became one of my favorites because you can shape it into any form and it picks up graphite and crumbly dry media without damaging paper. Kneaded erasers are essential during figure drawing sessions when I use charcoal and conte crayons.
Of the three, kneaded erasers are the gentlest option—perfect for lifting light pencil work or gently dabbing to fade out your shading or marks. For example, if you’ve shaded an area just a little too dark, using a polymer eraser would be too harsh and will likely erase too much. With the kneaded eraser, you can mold it into the shape of a water drop with a flat bottom and gently “stamp” away the excess shading. They’re not meant for erasing deep, dark marks. That’s where the electric eraser comes in.
Electric Eraser
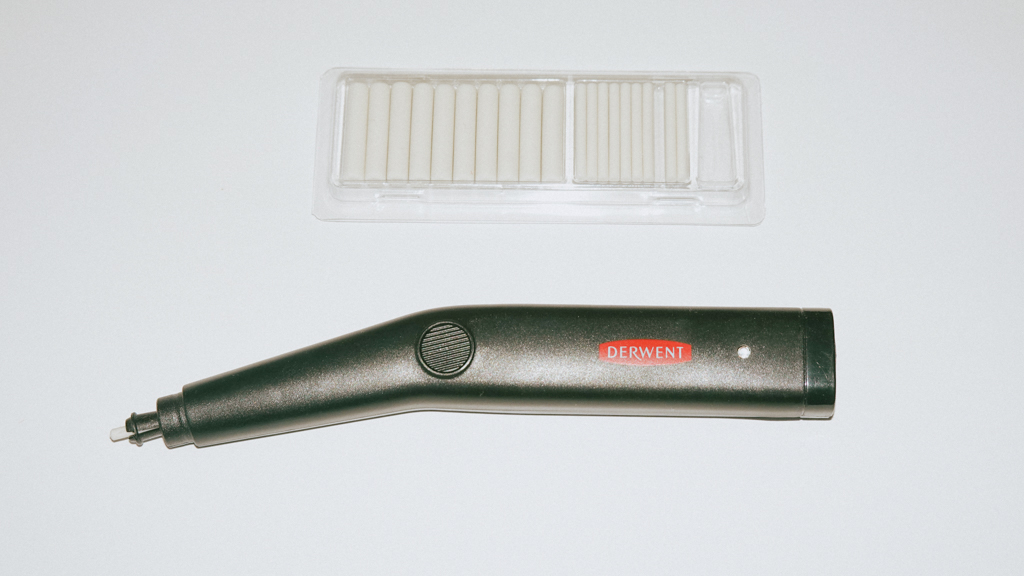
The electric eraser is somewhat of a luxury. You won’t need it unless you’re working on extremely fine details—like adding a highlight to a pupil or erasing tough, precise areas. It’s usually reserved for small jobs that make big visual impact.
The only thing I’d note about these erasers is to be careful with their rotation head. It spins so fast that if you’re not watching, it can actually damage the paper that you were drawing on. Even when it successfully lifts the graphite, it might leave an undesirable dent. It’s the most destructive of the three but incredibly effective when used correctly.
A quality electric eraser can be pricey, but it’s worth the investment when you need that level of precision that the polymer nor kneaded eraser can provide to finish that last 5-10% of the artwork.
Conclusion
The kneaded and polymer erasers together cost under $10, so if budget is tight, start with those two. They’ll take you far. Save the electric eraser for when a specific project demands that level of precision.

